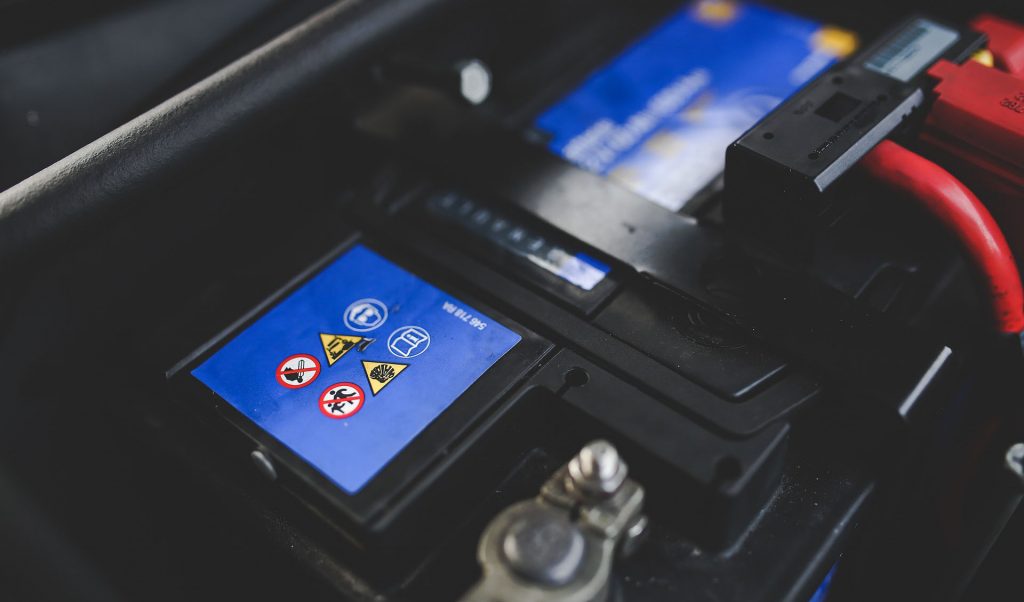
Under normal circumstances, if a motorcycle is frequently used, its battery can recharge itself during the normal use. But sometimes, if a motorcycle hasn’t been used for a long time, its battery may fail to recharge and thus won’t start the motorcycle properly. This is because batteries will discharge themselves when left unused for long periods of time. After the battery’s fault itself has been eliminated, we can solve this problem by manually charging the battery, and a battery charger will be needed.
Confirm the Type of Your Battery
Since there is more than one type of motorcycle battery, it is necessary to confirm the type of battery before charging it. There are two types of batteries commonly used in motorcycles: lead acid batteries and lithium-ion batteries. The easiest way to confirm the type of battery is to check the battery label or the motorcycle’s manual.
Select a Battery Charger
After the battery type has been confirmed, the next step will be to choose the proper charger. When choosing a charger, pay attention to their differences. Some chargers only support lead acid battery charging, while others only support lithium-ion battery charging. In general, lithium-ion batteries cannot be charged by using a lead acid battery charger. It needs to be purchased specifically. There are chargers that can support both lead acid and lithium-ion batteries. These chargers can automatically detect the battery type when charging the battery. It will then select the best charging mode to match the battery.
When charging a battery, if the charger cannot automatically select the charging mode, it is necessary to be careful when manually selecting the charging mode. Micro-current charging is a charging mode that converts alternating current to direct current. If this mode is chosen, you should remember to manually shut down the battery after it is fully charged. Otherwise, the charger will not automatically turn off, but to continue consuming power even though the battery is fully charged. On the contrary, if a smart charger is chosen, it will constantly monitor the battery status during the charging process. And when the battery is fully charged, it will automatically shut down to avoid the impact of overcharging on the battery to the greatest extent. We also have this type of Smart Battery Chargers on our Power1986 platform, welcome to browse.

Charge the Battery
When charging a battery, in order to avoid possible affection on other parts of the motorcycle, it is better to take the battery out of the motorcycle and then charge it. When taking the battery out of the motorcycle, remember to disconnect the negative electrode first, and then the positive electrode. In addition, due to the differences in the structure of different motorcycles, in order to ensure smooth and safe operation, it is recommended to read the manual of your motorcycle first. The manual will tell you where the battery is installed and how to wire it.
The best place to charge a battery will be in a ventilated place outside. This is because lead acid batteries will produce hydrogen when they are being charged. And if the battery is overcharged, it may produce toxic gases such as hydrogen sulfide, etc. Therefore, charging a battery outside can avoid the impact of potentially toxic gases on people. When using a non-smart charger to charge your battery, you should also check its charging status frequently to avoid its being overcharged.
Check Whether a Battery is Fully Charged
If a smart charger is used to charge a battery, it will automatically turn itself off when the battery is fully charged. And it will possibly also notify the user. While if a common charger is used, it is recommended to have a battery voltage test after it is charged. The following are the basic steps for a battery voltage test:
- First, disconnect the battery from the charger and have it connected to a DVOM or a multimeter. When they are connected, the black lead should be connected to the COM slot, and the red lead should be connected to the V slot.
- Turn the motorcycle off first. Then, adjust the multimeter into the 20V DC section. After that, touch the negative electrode of the battery with the black lead, and the positive electrode with the red lead. Record the voltage displayed on its screen.
- If the voltage displayed is 12.73V or higher, it indicates that the battery is fully charged and ready for use. If the voltage displayed is between 12.06-12.62V, it means that the battery needs more time to be charged. Any voltage below 12.06V is a sign that the battery is probably damaged. When this happens, you can try to extend the charging time, and then check the voltage of the battery. If the battery voltage is still below 12.06V after the extended charging time, it is certain that the battery is damaged to some extent and needs to be repaired. In case of this kind of battery damage, we have Microcomputer Pulse Repair Battery Chargers on our Power1986 platform to help deal with this kind of problems.

Put the Battery Back
After a battery is fully charged and tested for voltage level, it can be put back into the motorcycle now. The process of putting it back will be the reversed order of the previous process of taking it out. When the battery is put back, the positive electrode should be connected first, and later the negative electrode.
